


Google Photos is one of the most popular apps for storing, organizing, and sharing photos and videos. Whether you want to back up memories, free up storage on your phone, or easily find old pictures, Google Photos makes everything simple and accessible.
In this guide, you’ll learn how to use the Google Photos app step by step — even if you’re using it for the first time.
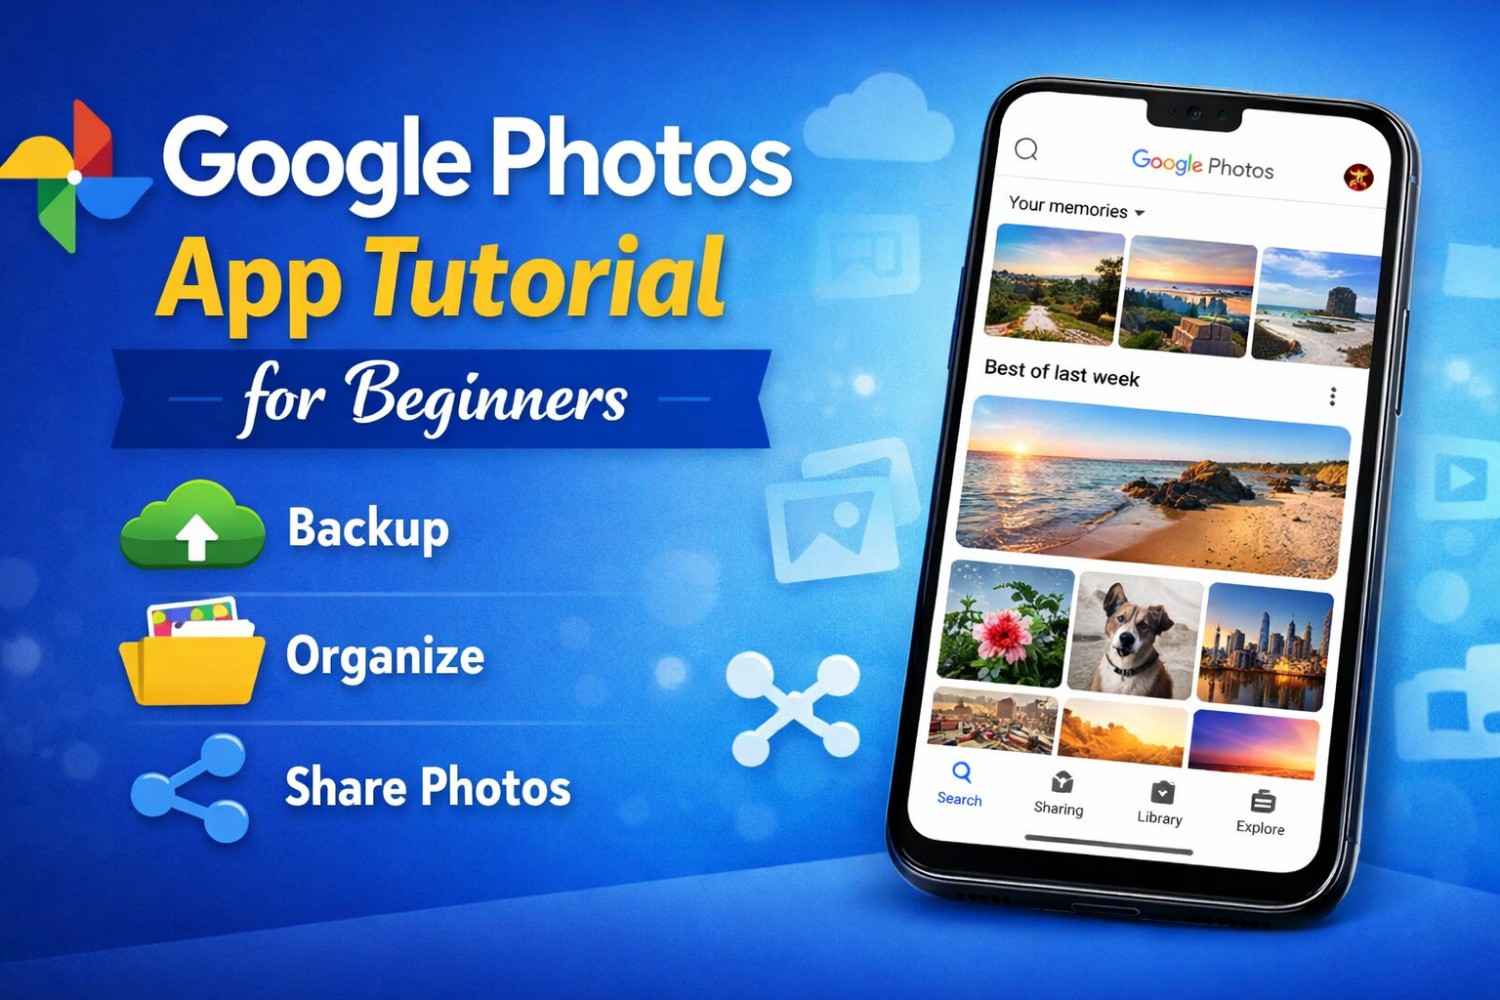
What are Google Photos?
Google Photos is a cloud-based photo storage and management app developed by Google. It allows you to safely store photos and videos online and access them from any device.
Key benefits include:
- Automatic photo backup
- Smart search using AI
- Easy sharing options
- Photo editing tools
- Storage management
The app is available on Android, iOS, and web browsers.
Step 1: Install Google Photos
First, download the Google Photos app.
- Android users: Google Photos usually comes preinstalled.
- iPhone users: Download it from the App Store.
Open the app and sign in using your Google account.
Step 2: Turn On Backup
Backing up your photos ensures they are safe even if your device is lost or damaged.
To enable backup:
- Open Google Photos
- Tap your profile icon
- Select Photos settings
- Tap Backup
- Turn Backup ON
You can choose:
- Backup quality
- Mobile data usage
- Folder backup settings
Once enabled, photos will upload automatically.
Step 3: Upload Photos Manually
If you want to upload photos manually:
- Open Google Photos
- Tap Library
- Select Upload
- Choose photos from your device
They will be saved to your Google account.
Step 4: Organize Photos
Google Photos automatically organizes images by:
- Date
- Location
- People
- Objects
You can also create albums manually:
- Tap Library
- Tap New Album
- Add photos
- Name the album
Albums make it easier to manage memories.
Step 5: Search Photos Easily
One of the most powerful features of Google Photos is smart search.
You can search by:
- Person’s name
- Location
- Object (car, dog, food)
- Event
- Date
Example searches:
- “Birthday”
- “Beach”
- “2024”
- “Dog”
Google’s AI automatically recognizes images.
Step 6: Edit Photos
Google Photos includes basic editing tools.
To edit:
- Open a photo
- Tap Edit
- Adjust:
- Brightness
- Contrast
- Filters
- Crop
- Tap Save
These tools are perfect for quick edits.
Step 7: Share Photos
Sharing photos is quick and simple.
To share:
- Open a photo or album
- Tap Share
- Choose:
- Link sharing
- Google Photos sharing
You can also create shared albums for family or friends.
Step 8: Free Up Storage
Google Photos can help you delete photos already backed up.
To free space:
- Tap profile icon
- Tap Free up space
- Confirm deletion
Your photos remain safe in the cloud.
Step 9: Access Photos from Any Device
You can access your photos anytime by visiting:
photos.google.com
Sign in with your Google account to view all backed-up images.
Tips for Using Google Photos Efficiently
- Turn on automatic backup
- Create albums for important events
- Use search instead of scrolling
- Regularly free device storage
- Review backup settings
Conclusion
Google Photos is more than just a gallery app — it’s a smart photo management tool that keeps your memories safe and organized. With automatic backup, powerful search, and easy sharing, anyone can manage their photos effortlessly.
If you’re not already using Google Photos, now is a great time to start.


What do you think?
It is nice to know your opinion. Leave a comment.